

Orchid enthusiasts often find themselves puzzled when their beloved plants refuse to produce those stunning flower spikes they’re famous for. Despite careful watering and positioning in what seems like the perfect spot, many orchids stubbornly remain in a vegetative state, producing leaves but no blooms. The good news is that a simple two-ingredient solution found in most kitchens can transform your reluctant orchid into a flowering spectacle, and the science behind this method is surprisingly straightforward.
Understanding why your orchids are not reblooming
Before reaching for any treatment, it’s essential to identify the underlying causes preventing your orchid from blooming. Orchids, particularly the popular Phalaenopsis varieties, require specific conditions to initiate their flowering cycle.
Temperature fluctuations and light requirements
Most orchids need a temperature drop of approximately 10 degrees Celsius between day and night to trigger blooming. Without this variation, the plant may continue producing foliage indefinitely. Additionally, insufficient light remains one of the most common culprits. Orchids require bright, indirect sunlight for at least six hours daily. A north-facing windowsill often provides inadequate illumination, whilst direct southern exposure can scorch delicate leaves.
Nutritional deficiencies
Orchids grown in bark-based media frequently suffer from nutrient depletion. The following elements are crucial for bloom production:
- Nitrogen for healthy leaf growth
- Phosphorus for root development and flowering
- Potassium for overall plant vigour
- Trace minerals including magnesium and calcium
When these nutrients become scarce, the plant prioritises survival over reproduction, resulting in no flower spike development. Understanding these fundamental requirements sets the stage for implementing an effective blooming solution.
The secret ingredients in your kitchen
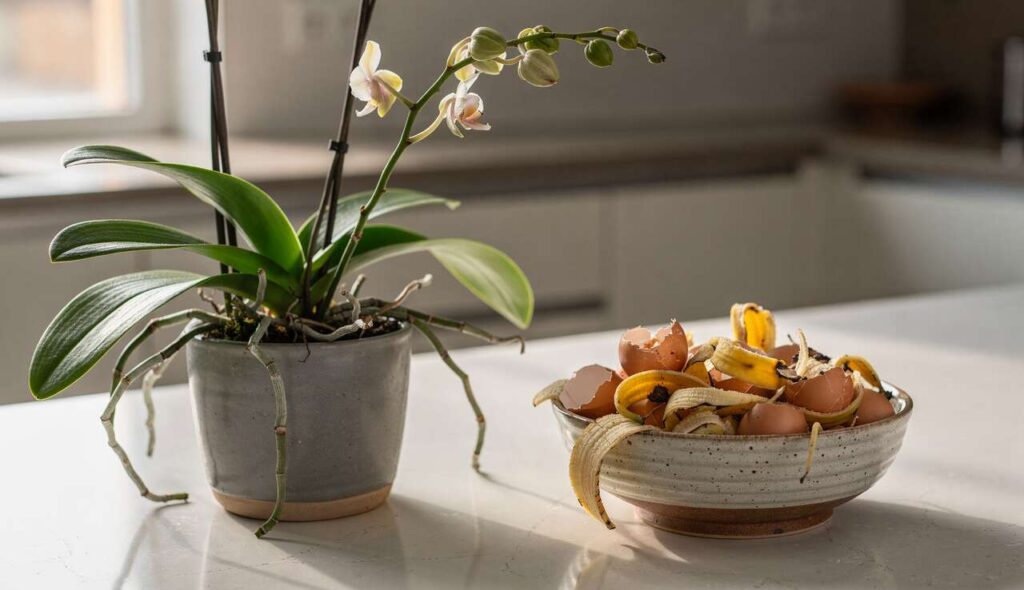
The two-ingredient mixture that orchid growers are raving about consists of banana peel and Epsom salt. These humble kitchen staples contain precisely the nutrients orchids need to initiate and sustain blooming.
Why banana peel works
Banana peels are exceptionally rich in potassium, the mineral responsible for strengthening flower stems and intensifying bloom colour. They also contain:
- Phosphorus, which directly stimulates flower production
- Calcium for cell wall strength
- Magnesium, a component of chlorophyll
- Natural sugars that feed beneficial soil microorganisms
As the peel decomposes, these nutrients become available in a form that orchid roots can readily absorb, providing a slow-release fertilisation effect that lasts for weeks.
The role of Epsom salt
Epsom salt, chemically known as magnesium sulphate, addresses a common deficiency in orchids. Magnesium is essential for chlorophyll production and helps plants absorb other nutrients more efficiently. The sulphur component aids in protein synthesis and enzyme function. Together, these elements create an environment where blooming becomes not just possible but probable.
| Ingredient | Primary nutrient | Benefit for orchids |
|---|---|---|
| Banana peel | Potassium | Triggers flower spike development |
| Epsom salt | Magnesium | Enhances nutrient absorption |
With these ingredients identified, the next step involves preparing them in a way that maximises their effectiveness.
Preparing the mix to trigger blooming
Creating this bloom-inducing solution requires minimal effort and produces results within weeks when applied correctly.
Step-by-step preparation method
Begin by cutting one banana peel into small pieces, approximately 2-3 centimetres in size. Place these pieces in a clean jar or container with one litre of water. Add one teaspoon of Epsom salt to the mixture and stir thoroughly until the salt dissolves completely. Allow this mixture to steep for 24 hours at room temperature, enabling the nutrients to leach into the water.
Straining and storage
After the steeping period, strain the liquid through a fine mesh sieve or cheesecloth to remove all solid particles. This step is crucial because any remaining organic matter can promote fungal growth or attract pests. The resulting amber-coloured liquid can be stored in a sealed container in the refrigerator for up to one week. Always label the container with the preparation date to ensure freshness.
Dilution recommendations
The concentrated solution should be diluted before application. Mix one part of the banana-Epsom solution with three parts water for regular feeding. For orchids that haven’t bloomed in over a year, you may use a stronger concentration of one part solution to two parts water for the first two applications only.
Once your mixture is properly prepared, understanding the correct application technique becomes paramount.
Applying and maintaining the treatment
The effectiveness of this treatment depends heavily on proper application timing and frequency.
Application schedule
Apply the diluted solution every two weeks during the growing season, typically from spring through early autumn. Water your orchid with the mixture as you would with regular water, ensuring the solution reaches all roots. Pour approximately 250 millilitres for a standard-sized orchid in a 15-centimetre pot, adjusting quantities proportionally for larger or smaller plants.
Monitoring plant response
Within three to four weeks of consistent application, watch for these positive indicators:
- Darker, more vibrant leaf colour
- Emergence of new root tips with green growing points
- A flower spike beginning to form between leaves
- Overall increased vigour in the plant
If no changes appear after six weeks, reassess environmental conditions such as temperature and light exposure, as these factors work synergistically with nutrition.
Avoiding common mistakes
Never apply the solution to dry growing medium, as this can cause root burn. Always water lightly with plain water first, then follow with the nutrient solution thirty minutes later. Additionally, discontinue applications once flower buds have fully formed, as excessive feeding during blooming can cause premature bud drop.
Beyond this specific treatment, general care practices play an equally important role in sustaining blooms.
Tips for maintaining your orchid in bloom
Once your orchid begins flowering, strategic care adjustments help maximise bloom duration and quality.
Optimal environmental conditions
Maintain humidity levels between 50-70 percent by placing the orchid pot on a tray filled with pebbles and water. Ensure the pot sits above the waterline to prevent root rot. Keep temperatures consistent, ideally between 18-24 degrees Celsius during the day. Avoid placing orchids near heating vents or draughty windows, as sudden temperature changes can cause flowers to wilt prematurely.
Watering practices during blooming
Reduce watering frequency slightly once flowers open, allowing the growing medium to approach dryness between waterings. This encourages the plant to direct energy towards maintaining blooms rather than producing new growth. Use room-temperature water and avoid wetting the flowers themselves, as moisture on petals can lead to spotting and decay.
Post-bloom care
After flowers fade, cut the spike above the second or third node using sterilised scissors. This technique often encourages a secondary bloom spike to emerge from the remaining nodes. Resume regular feeding with the banana-Epsom solution to replenish the plant’s energy reserves depleted during flowering.
Despite best efforts, some situations warrant professional guidance to address underlying issues.
When to consult an orchid expert
Certain conditions indicate that professional assessment may be necessary to restore your orchid’s health and blooming capacity.
Persistent non-blooming
If your orchid fails to produce flower spikes after three months of proper care and nutrition, an expert can evaluate for genetic factors or dormancy issues specific to certain species. Some orchids require specialised rest periods that differ from standard care protocols.
Signs of disease or pest infestation
The following symptoms require immediate expert attention:
- Black or brown spots spreading across leaves
- Soft, mushy roots indicating advanced rot
- Visible insects such as scale, mealybugs, or spider mites
- Yellowing leaves accompanied by stunted growth
- Foul odours emanating from the growing medium
Local orchid societies often provide free consultations and can recommend reputable specialists. Many botanical gardens also offer diagnostic services for a nominal fee, providing laboratory analysis when necessary.
This simple two-ingredient kitchen solution offers orchid enthusiasts an accessible, cost-effective method to encourage reluctant plants into magnificent bloom. By combining banana peel’s potassium-rich nutrients with Epsom salt’s magnesium boost, you create conditions that naturally trigger flowering responses. Success depends on understanding your orchid’s basic requirements, preparing the solution correctly, and maintaining consistent application alongside proper environmental conditions. When standard interventions prove insufficient, seeking expert guidance ensures underlying issues receive appropriate treatment. With patience and attention to these principles, even the most stubborn orchid can transform into a spectacular flowering specimen.