


Orchids are amongst the most cherished houseplants, admired for their elegant blooms and exotic appearance. However, many plant enthusiasts find themselves disheartened when their once-vibrant orchid begins to fade, its petals losing their lustre and its overall vitality diminishing. Before consigning your beloved plant to the bin, there exists a remarkably straightforward solution that requires nothing more than a common water bottle. This method has transformed countless seemingly lifeless orchids into thriving specimens, and understanding the proper technique can make all the difference between abandoning your plant and witnessing its spectacular revival.
Understanding your orchid’s needs
The natural habitat of orchids
Orchids originate from tropical and subtropical regions where they typically grow as epiphytes, attached to tree bark rather than rooted in soil. This unique growing pattern means they absorb moisture and nutrients from the air and rain rather than through traditional root systems found in soil-dwelling plants. Understanding this fundamental characteristic is essential for providing appropriate care, as it explains why orchids require different watering techniques compared to conventional houseplants.
Essential environmental factors
Creating the right environment for your orchid involves balancing several key elements:
- Light exposure: orchids require bright, indirect sunlight rather than harsh, direct rays that can scorch their delicate leaves
- Humidity levels: maintaining humidity between 40-70% mimics their natural tropical environment
- Temperature consistency: most orchids thrive in temperatures ranging from 15-25°C
- Air circulation: gentle airflow prevents fungal growth and mimics natural breezes
These environmental considerations directly influence how your orchid absorbs water and nutrients, which becomes particularly relevant when implementing revival techniques. Recognising what causes orchids to lose their vibrancy helps target the most effective restoration methods.
Why do orchids lose their colour ?
Common causes of fading
Several factors contribute to an orchid’s declining appearance. Inadequate watering ranks amongst the most prevalent issues, as orchids suffer equally from overwatering and underwatering. When roots remain waterlogged, they develop root rot, preventing proper nutrient absorption. Conversely, insufficient moisture causes dehydration, leading to wilted leaves and faded blooms.
Nutritional deficiencies and environmental stress
Beyond watering issues, orchids may fade due to:
- Lack of fertilisation: orchids require regular feeding during their growing season
- Inappropriate potting medium: decomposed bark no longer provides adequate drainage
- Temperature fluctuations: exposure to cold draughts or heating vents
- Pest infestations: scale insects and mealybugs drain plant vitality
| Symptom | Likely cause | Severity |
|---|---|---|
| Yellowing leaves | Overwatering | Moderate |
| Shrivelled roots | Underwatering | High |
| Dropping buds | Temperature stress | Moderate |
| Pale blooms | Insufficient light | Low |
Identifying the specific cause helps determine whether the water bottle method will effectively address your orchid’s particular condition. Having diagnosed the problem, gathering the appropriate materials becomes the next logical step.
The tools required to revive your orchid
Basic materials needed
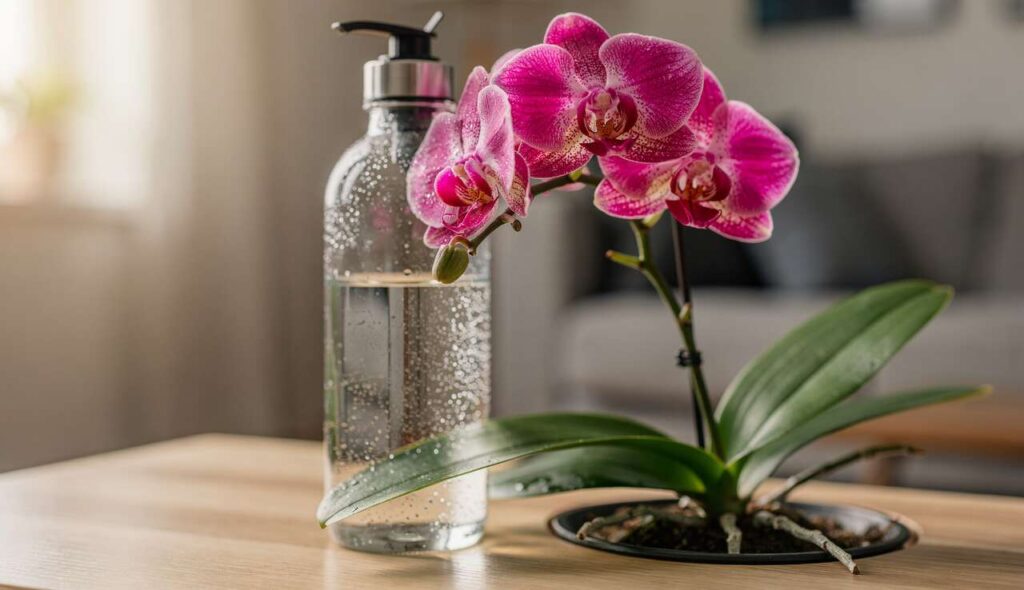
The beauty of this revival technique lies in its simplicity and accessibility. You will need:
- A clean plastic water bottle (500ml to 1 litre capacity)
- Sharp scissors or a craft knife
- Room-temperature water, preferably filtered or rainwater
- Optional: orchid fertiliser diluted to half strength
Preparing your workspace
Select a clean, well-lit area where you can comfortably work with your orchid. Ensure the bottle is thoroughly cleaned and free from any residue that might contaminate the water. If your orchid shows signs of root rot, have sterilised pruning shears available to remove damaged roots before beginning the revival process.
With your materials assembled and workspace prepared, you can proceed to implement the restoration technique that has proven successful for countless orchid owners.
Steps to revitalise your orchid with a water bottle
Creating the water bottle system
Begin by cutting the water bottle approximately one-third from the bottom, creating a stable container that will hold water whilst supporting the orchid. The upper portion with the cap can be discarded or recycled. Fill this bottom section with room-temperature water to a depth of about 5-7 centimetres, ensuring the water level will reach the orchid’s roots without submerging the entire root system.
Positioning your orchid
Carefully remove your orchid from its current pot, gently shaking off old potting medium. Inspect the roots, trimming any that appear brown, mushy or dried out. Healthy orchid roots should be firm and white or green. Position the orchid so its roots extend into the water whilst the crown remains above the waterline. The bottle’s rim should support the plant, preventing it from sinking too deeply.
The soaking period
Allow your orchid to remain in this water culture setup for 24 to 48 hours. During this period, the roots will absorb moisture directly, rehydrating the entire plant system. You may observe the roots turning from silvery-white to a vibrant green as they absorb water, indicating successful hydration. After this soaking period, remove the orchid and allow excess water to drain completely before returning it to its pot with fresh orchid bark medium.
Once your orchid has undergone this intensive hydration treatment, maintaining its renewed vitality requires consistent aftercare practices.
Post-revitalisation care tips
Establishing a proper watering routine
Following the water bottle treatment, implement a consistent watering schedule that prevents future dehydration or overwatering. Water your orchid when the potting medium feels dry to the touch, typically every 7-10 days depending on environmental conditions. The ice cube method, placing 2-3 ice cubes on the potting medium weekly, provides gradual moisture release that mimics natural rainfall.
Monitoring recovery progress
Observe your orchid for signs of improvement:
- Roots becoming firmer and greener
- Leaves regaining their glossy appearance
- New root growth emerging
- Flower spikes developing within several weeks
Continue providing optimal light conditions and maintain appropriate humidity levels. If your home’s air is particularly dry, place the orchid pot on a humidity tray filled with pebbles and water, ensuring the pot sits above the waterline.
Beyond basic recovery, implementing strategies to encourage prolific blooming ensures your orchid reaches its full ornamental potential.
Maximising your orchid’s bloom
Encouraging flower spike development
To promote blooming, orchids require a temperature differential between day and night. A drop of approximately 5-7°C encourages flower spike formation. Position your orchid where it experiences this natural fluctuation, such as near a window that cools slightly at night whilst avoiding cold draughts.
Fertilisation for abundant blooms
Feed your orchid with a balanced orchid fertiliser every two weeks during the growing season. Use the formula at half the recommended strength to prevent root burn. During winter dormancy, reduce feeding to once monthly. Proper nutrition supports vigorous growth and enhances bloom colour intensity and longevity.
The water bottle revival technique offers orchid enthusiasts a practical solution for rescuing faded plants that might otherwise be discarded. By understanding orchid biology, identifying causes of decline, and implementing this straightforward hydration method, you can restore your orchid’s vitality and enjoy its stunning blooms for years to come. Regular monitoring, appropriate watering practices, and optimal environmental conditions ensure your revived orchid continues thriving, transforming from a disappointing specimen into a spectacular centrepiece that justifies the minimal effort required for its salvation.